
Getting started
Install and sign in
Install the app, sign in, and walk through setup. Then your team is one hover away, at the top of your screen.
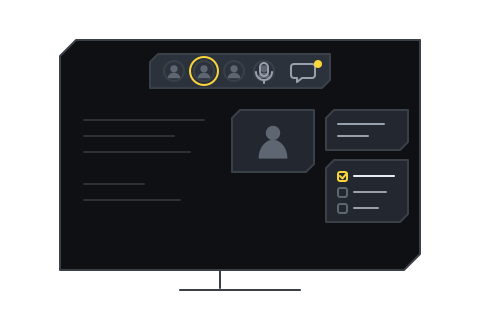
Install
Section titled “Install”Download the TeamHUD desktop app for macOS, Windows or Linux and open it. Get it from your organization or from teamhud.app.
Not sure which build? Ask whoever set TeamHUD up for your team (your Org admin, or the System admin if your organization runs its own server).
Sign in
Section titled “Sign in”- Open TeamHUD. The first screen asks you to sign in or create an account.
- Enter your email and password, or choose a sign-in provider if one is offered.
- Does your organization run its own server? Open Use a different TeamHUD server under the form. Enter the address your admin gave you, for example
https://teamhud.example.com.
Setup steps
Section titled “Setup steps”The first time you sign in, TeamHUD walks you through setup. You only see the steps that apply to your computer.
- Account. Sign in or create your account.
- Terms & policies. Read and accept. Shown only if there is a version you have not accepted.
- Permissions. Grant what TeamHUD needs for calls, push-to-talk and window activity. Change them later in Preferences, under Privacy and Security.
- Choose your widgets. Most are on to start; a few samples (such as Hello Widget) start off. Click a card to turn it on or off. You can change this later.
- Review widget permissions. Shown when a widget you kept on asks for access to something, including some that are on by default. Click Allow or Don’t install for each.
- Set up your team. Pick or create an organization and team, or join the one that exists. Skip for now also skips the next two steps, which need a team; do it later in Preferences, under Teams.
- Your face. Shown once you have a team. Choose the avatar your team sees, or skip it to choose later.
- Find your team (Invite team in the step list). Connect a chat workspace to find people to invite.
- Linux input access, cursor tracking. One-time steps, shown only on Linux when your system needs them.
- You’re all set! Tick Start TeamHUD when I log in if you want it to open with your computer (it starts unticked), then click Launch TeamHUD →.
Grant system permissions
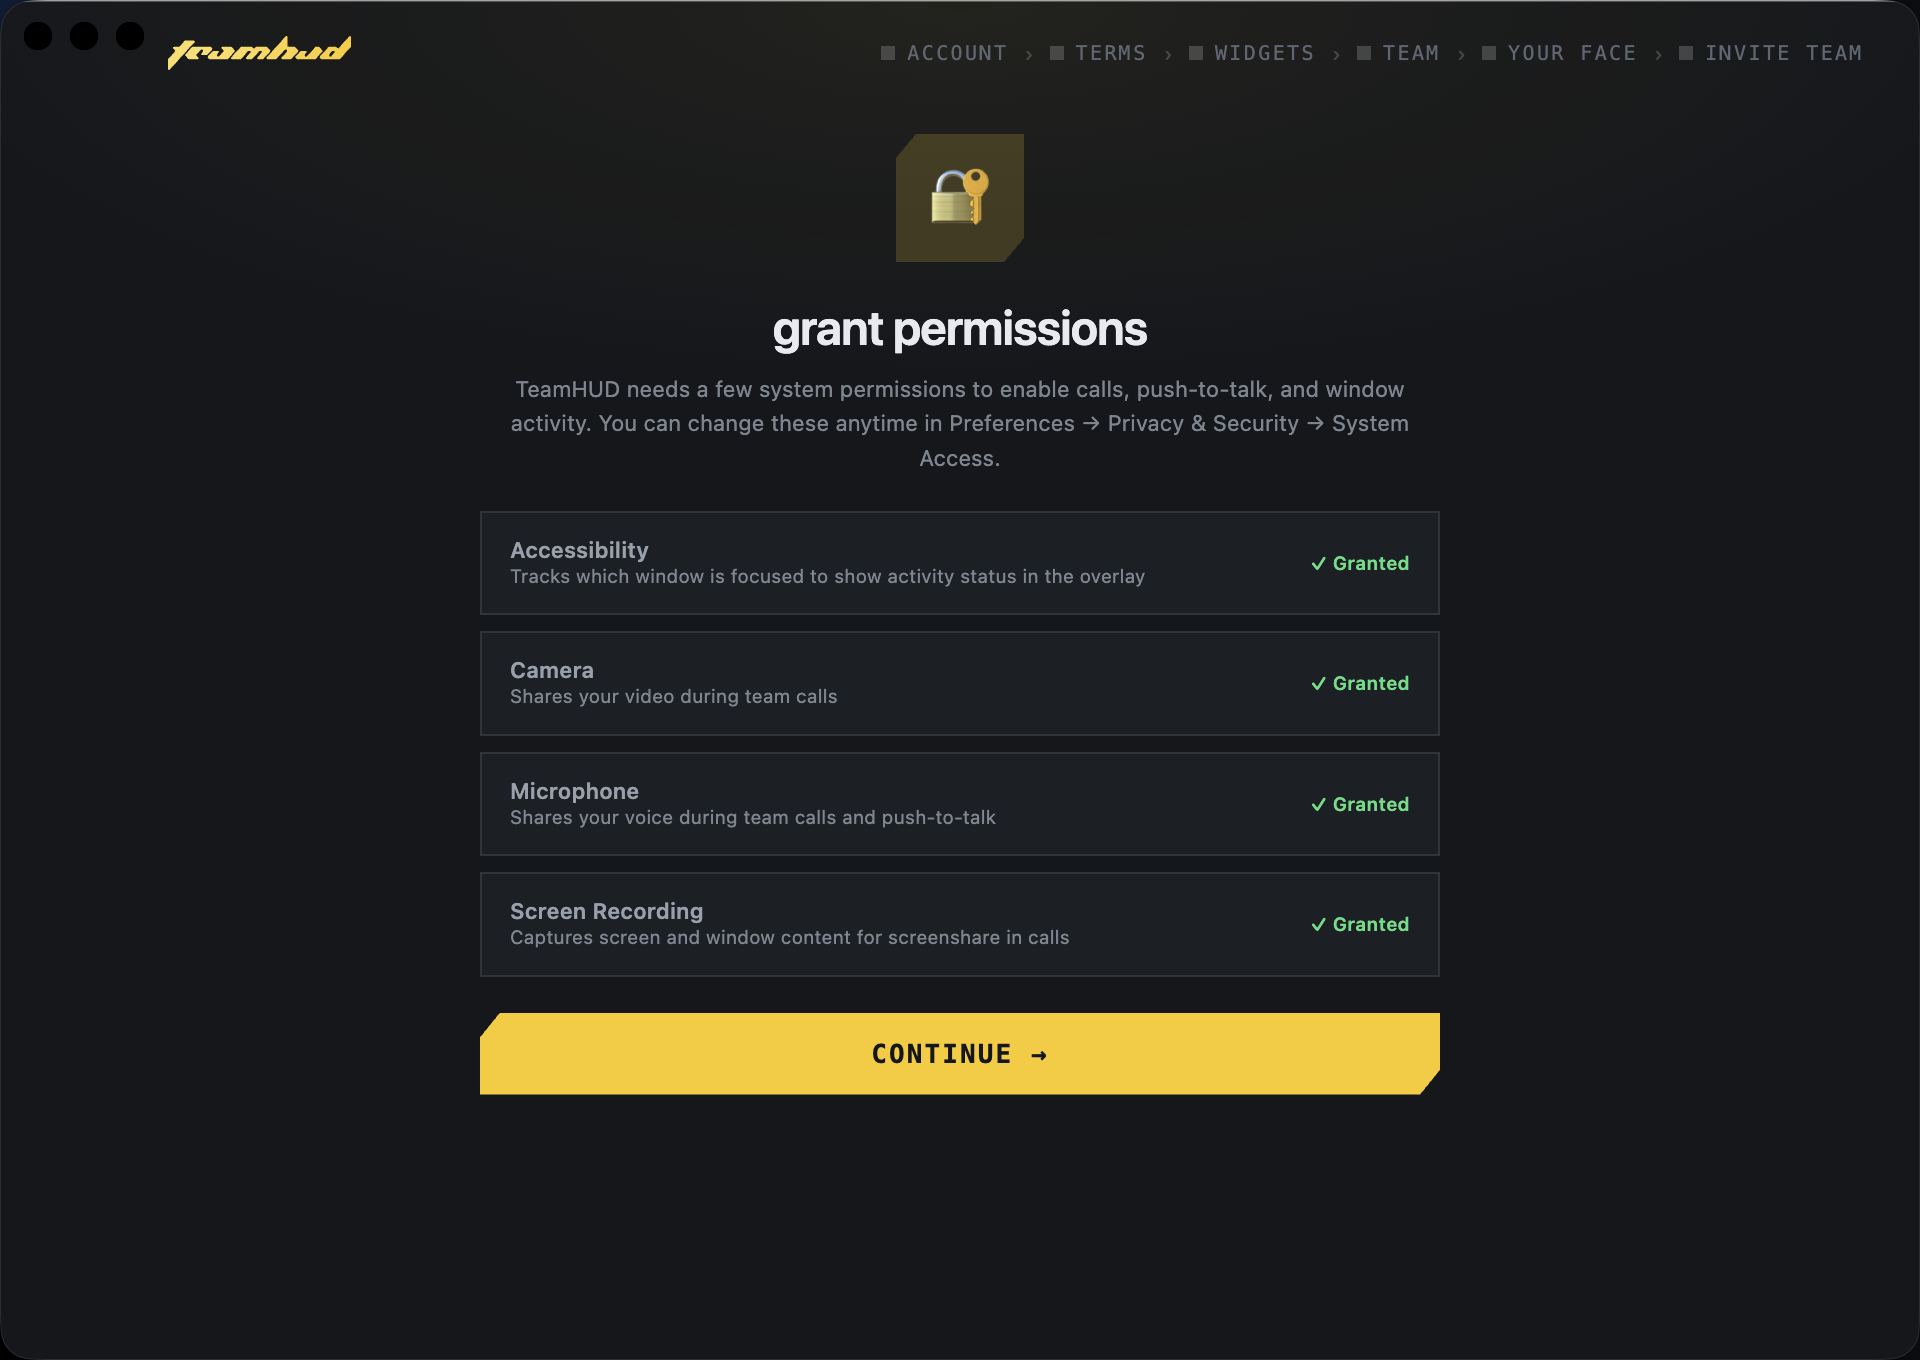
Section titled “Grant system permissions”Step 3 asks your computer for the access TeamHUD needs. Each row names the permission, says why, and has a Request button (this opens the system prompt) and Open Settings. A row turns to ✓ Granted when it is done. You can skip the step and change any of this later in Preferences, under Privacy and Security, then System Access.
Rows you may see, in this order:
- Microphone and Camera. Voice and video in team calls, and push-to-talk.
- Accessibility. Push-to-talk (it watches the keyboard for your hotkey while another app is focused), hover detection for the overlay, and which window is focused. macOS counts this as input monitoring too, so there is no separate row for it.
- Screen Recording. Screen sharing. It is listed last. After you grant it, restart TeamHUD for it to take effect; the row says Grant it, then restart TeamHUD to finish.
- System Audio Recording. Shown only if you picked system audio as your echo reference. The row reads macOS asks on first use, because macOS gives no way to check it. Screen Recording also covers it.
Click Request on each row, then Allow in the macOS prompt. If you dismissed a prompt, click Open Settings and tick TeamHUD in the Privacy pane. The step enables Continue once every row is granted (or is one macOS cannot report).
Windows has no prompt for Microphone and Camera, so those rows only offer Open Settings. In Windows Settings, go to Privacy, then Microphone and Camera, and allow desktop apps to use them. Nothing else is asked for here.
The permissions step does not appear on Linux. Two other steps may:
- Enable overlay hover. TeamHUD needs to read your input devices so the overlay knows when your cursor is near a hub. Click the grant button and enter your system password. If the prompt cannot open, the step shows commands to run in a terminal, then Continue. It reads input locally; nothing leaves your machine. Skip for now is available.
- Cursor source. On some desktops (GNOME on Wayland needs an extension) the step offers to install the recommended cursor source. On KDE (KWin Wayland) it is ready and the step is skipped.
Microphone and camera are not gated by the system on Linux. When you share a screen on Wayland, your desktop shows its own picker for the screen or window.
Your first voice channel
Section titled “Your first voice channel”When you finish setup, TeamHUD joins your team’s voice channel for you. The very first time it joins muted, so no one hears you until you unmute. After that it remembers how you left it.
Change this in Preferences, under General: Join my team’s voice channel, and When TeamHUD opens, voice channel: (Remember last state, Always join muted, Always join open (unmuted)). Starting at login always joins muted unless you turn on Use my last mic mode on an automatic start.
The overlay
Section titled “The overlay”After setup, TeamHUD appears as an overlay at the top of your screen.
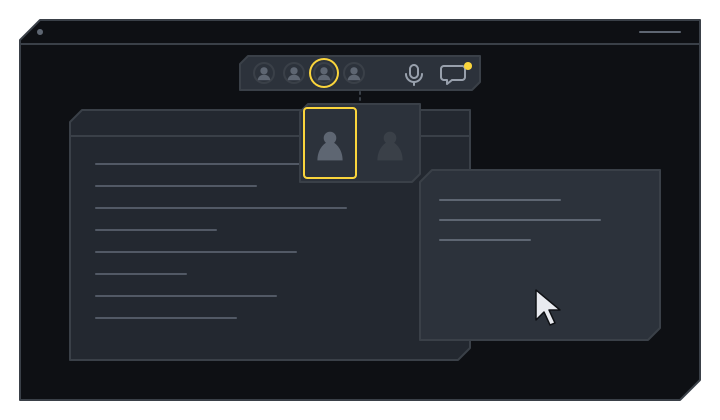
New to hubs and widgets? See How TeamHUD works. Show or hide it with the overlay shortcut. All shortcuts are on Hotkeys.
CmdOptionShiftOmacOSCtrlAltShiftOWindows, LinuxThe tray menu
Section titled “The tray menu”Click the TeamHUD icon in your menu bar (macOS) or system tray (Windows, Linux).
- Show TeamHUD / Hide TeamHUD. Toggle the overlay.
- About TeamHUD… and Check for Updates…
- Team. Your organizations and teams.
- New meeting. Open a meeting window.
- Recordings. Review or delete your recordings.
- Games. Launch a team game, if any are listed.
- Notifications. Shows a count when something needs attention.
- Start at Login. Tick to launch TeamHUD when you sign in to your computer.
- Preferences. Open settings. See the Settings reference.
- Re-run setup… Walk through the setup steps again.
- Getting started guide… Opens this guide in your browser.
- Submit Feedback…
- Restart and Quit.